Why Notification Customization Matters
Every property management team runs on communication — rent reminders, maintenance updates, lease renewals, late payment alerts, and more. But when every notification fires at full volume for every person on your team, the result isn't better communication. It's noise.
Untuned notifications lead to three common problems:
Alert fatigue. When property managers get pinged for every minor update, they start ignoring notifications altogether — including the important ones.
Tenant frustration. Too many automated messages (or the wrong channel) can make tenants feel spammed instead of informed.
Missed critical events. If everything looks equally urgent, truly time-sensitive issues — like an emergency maintenance request — can get buried.
The fix is simple: customize what gets sent, how it's sent, and who receives it. Here's how to do that in TenantSaaS.
Step 1: Understand the Notification Categories
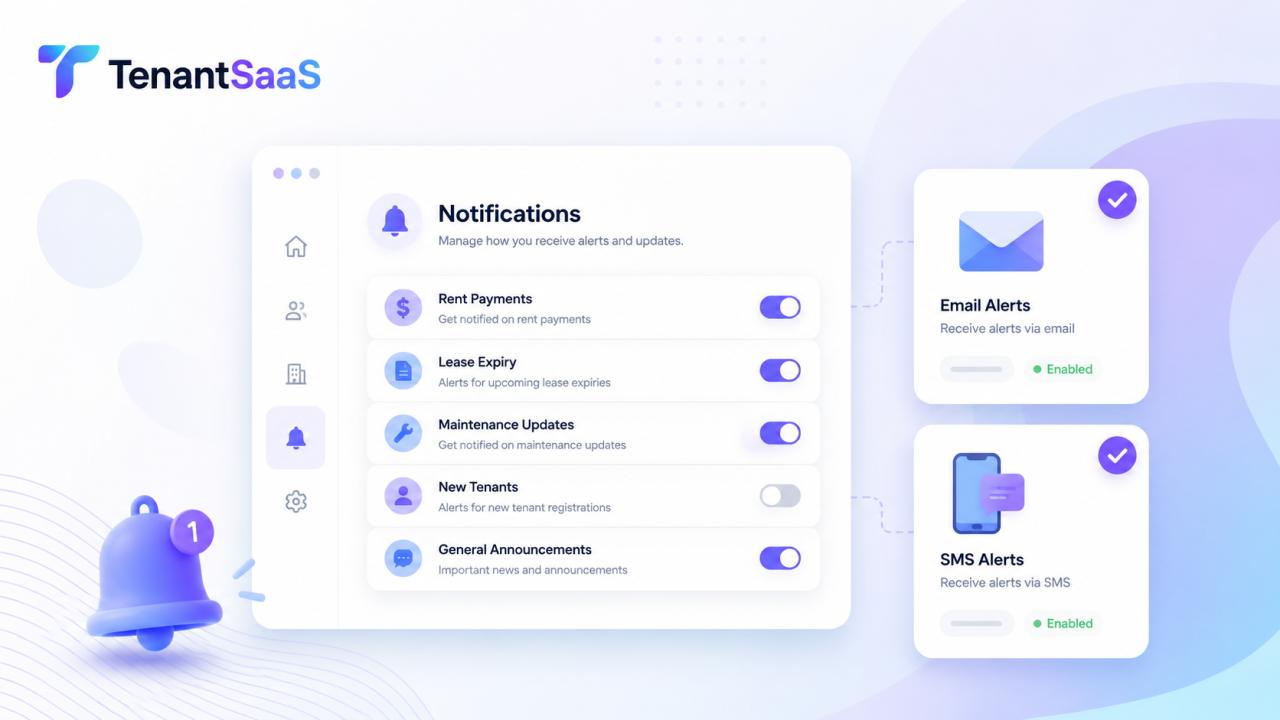
Before changing any settings, it helps to know what you're working with. TenantSaaS organizes notifications into a few core categories:
Payments — rent due, rent received, late payments, failed transactions
Maintenance — new requests, status updates, vendor assignments, completion confirmations
Leasing — new applications, lease renewals, expirations, signed documents
Communication — tenant messages, unread threads, community announcements
System & Account — billing for your TenantSaaS subscription, team member changes, security alerts
Knowing this breakdown makes it much easier to decide what should be loud, what should be quiet, and what should be turned off entirely for certain roles.
Step 2: Set Notification Preferences by Role
Not everyone on your team needs the same alerts. A leasing agent doesn't need maintenance vendor updates, and a maintenance coordinator doesn't need new lease application alerts.
To customize by role:
Go to Settings > Notifications > Team Preferences.
Select a role (Owner, Property Manager, Leasing Agent, Maintenance Staff, Accounting).
Toggle categories on or off for that role.
Set a default delivery channel for each category (email, SMS, push, or in-app only).
This ensures each team member's inbox reflects their actual responsibilities, not every event happening across your portfolio.
Step 3: Choose the Right Channel for Each Notification Type
Not every notification deserves the same urgency. TenantSaaS lets you assign a channel per notification type:
SMS or push for time-sensitive items like emergency maintenance requests or failed rent payments
Email for detailed, non-urgent updates like monthly statements or lease renewal reminders
In-app only for low-priority items like read receipts or minor status changes
A good rule of thumb: reserve SMS and push notifications for anything that needs action within the hour. Everything else can live in email or the in-app notification center.
Step 4: Customize Tenant-Facing Notifications
Tenant communication settings live separately from internal team settings, since tenants have different expectations and preferences.
Under Settings > Notifications > Tenant Communications, you can:
Set automated rent reminder timing (e.g., 5 days before due, on the due date, 3 days after if late)
Choose default channels for tenant messages (email is default; SMS can be enabled per property)
Customize the wording and branding of automated messages, including your company logo and sender name
Allow tenants to set their own preferences from their tenant portal, such as opting into SMS reminders or muting non-essential announcements
Giving tenants some control over their own preferences (within limits you define) tends to reduce opt-outs and complaints while still ensuring critical notices like late payment or lease-end reminders always go through.
Step 5: Build Custom Alert Rules
For more advanced control, TenantSaaS supports conditional notification rules. Instead of relying only on preset categories, you can create rules based on specific triggers, such as:
Notify only the assigned property manager when a maintenance request is marked "urgent"
Send a Slack or email alert to accounting when a payment fails twice in a row
Escalate a maintenance request to the property owner if it remains unresolved after 48 hours
To set these up, go to Settings > Notifications > Custom Rules and use the rule builder to define a trigger, condition, and recipient.
Step 6: Review and Adjust Regularly
Notification needs change as your portfolio grows or your team structure shifts. It's worth reviewing your settings quarterly:
Are any team members muting entire categories because they're overwhelmed? That's a sign the defaults need adjusting.
Are tenants opting out of communications at a high rate? Reconsider frequency or channel.
Are urgent items (like emergency maintenance) reliably reaching the right person fast enough?
A quick audit ensures your notification system keeps working for your team instead of against it.
Final Thoughts
The goal of customizing business notifications isn't to send fewer messages — it's to send the right message, to the right person, through the right channel, at the right time. With TenantSaaS's role-based preferences, flexible channels, tenant-facing controls, and custom rule builder, you can build a notification system that keeps everyone informed without burning anyone out.
Take 15 minutes this week to review your current notification settings. A small adjustment now can save your team from a lot of unnecessary noise later.