Starting with new business software can feel complicated.
You may be concerned about setup time, subscription costs, data migration, employee training, or choosing the wrong platform before understanding how it works.
TenantSaaS is designed to make the starting process simpler.
The platform offers a free Starter plan that businesses can use to explore core features, create company workspaces, manage users, organize projects, add tasks, publish products, and understand how the platform fits their daily operations. The free plan is intended to remain available without requiring payment, while paid plans provide higher limits and additional capabilities.
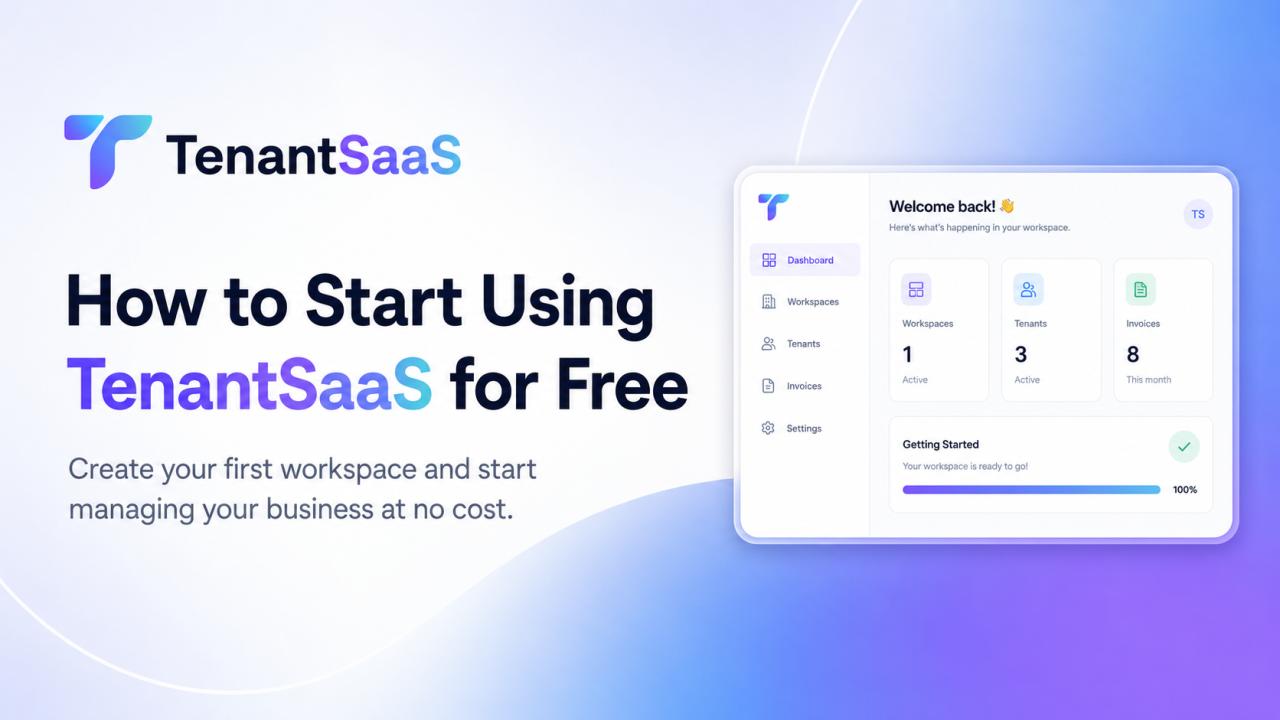
This guide explains how to create your TenantSaaS account, set up your first company, invite your team, and begin managing your business.
What You Can Do with TenantSaaS
TenantSaaS brings several business management tools into one multi-tenant platform.
Depending on your plan, enabled modules, and permissions, your workspace may include:
Company management
Team members
Roles and permissions
Employees
Projects
Tasks
Timesheets
Calendar
Reports
Attendance
Leave requests
Files
Products
Marketplace listings
Blog publishing
Notifications
Analytics
AI-assisted workflows
You do not need to configure every feature immediately.
The best approach is to begin with the tools your business needs most and expand your setup gradually.
Understanding the Free Starter Plan
TenantSaaS currently provides a free-forever Starter plan for users who want to explore the platform before moving to a paid plan.
The plan includes limited access to core resources such as companies, users, projects, tasks, products, categories, and storage. At the time of writing, the public pricing page lists support for up to two companies, twenty users, ten projects, one hundred tasks, fifty products, ten categories, and one gigabyte of storage under the Starter plan.
These limits are suitable for:
Testing TenantSaaS
Learning how the platform works
Personal projects
Early-stage startups
Freelancers
Very small teams
Businesses preparing their first organized workflow
Because pricing and limits may change as the platform develops, always check the current TenantSaaS pricing page before making long-term decisions.
Step 1: Create Your Account
Begin by opening TenantSaaS and selecting the option to start free.
Create your account using accurate information that you can continue using for your business.
You may need to provide details such as:
Your name
Email address
Secure password
Use an email account that you regularly check because it may be used for:
Account verification
Team invitations
Security notifications
Subscription updates
Important platform messages
Create a strong password that you do not use on other websites.
Step 2: Verify Your Email
If email verification is enabled, open the verification message sent by TenantSaaS.
Select the verification link to activate your account.
Email verification helps protect the platform from fake registrations and ensures that important notifications reach a valid address.
Check your spam or junk folder if the message does not appear in your inbox.
Step 3: Create Your First Company
After registration, create your first company workspace.
A company becomes an independent tenant inside TenantSaaS.
Enter clear company information such as:
Company name
Business email
Phone number
Logo
Industry
Address
General description
Some of these fields may be optional depending on the current setup.
Use your real company name so invited users can recognize the workspace easily.
Why the Company Workspace Matters
Every company workspace keeps its business records separate.
The selected company may have its own:
Users
Employees
Projects
Tasks
Files
Products
Blog posts
Notifications
Settings
Reports
Analytics
If you later create another company, its information remains independent.
This makes TenantSaaS useful for entrepreneurs, agencies, consultants, and owners managing multiple businesses.
Step 4: Complete Company Settings
Before inviting your team, review the company settings.
Add the information that helps identify and configure your workspace.
This may include:
Company logo
Contact information
Time zone
Date format
Notification preferences
Branding
Business settings
Correct time-zone settings are particularly important for:
Scheduled blog posts
Project deadlines
Attendance
Calendar events
Timesheets
Notifications
Incorrect time-zone settings may cause dates and scheduled activities to appear at the wrong time.
Step 5: Review Your Dashboard
The Tenant Panel dashboard gives you an overview of the selected company.
Depending on the available modules, you may see:
Active projects
Pending tasks
Current subscription
Overdue items
Employees present today
Pending leave requests
Low-stock products
Storage usage
Recent activity
Upcoming deadlines
The dashboard is designed to help you understand what requires attention.
When your account is new, several widgets may display zero because no records have been created yet.
They will become more useful as you add employees, projects, tasks, products, and other business activity.
Step 6: Invite Team Members
Your next step may be inviting the people who will use the workspace.
From team or user management, add members using their email addresses.
You may invite:
Business partners
Administrators
Managers
Project managers
HR staff
Employees
Content managers
Product managers
Avoid sharing one account among several people.
Every person should have their own account so that permissions, activity, and security remain clear.
Step 7: Assign Roles and Permissions
Not every user should have complete control over the company.
Assign roles based on each person’s responsibilities.
Possible roles may include:
Owner
Tenant administrator
Manager
HR manager
Project manager
Employee
Product manager
Content manager
For example:
The owner may manage the entire workspace
A project manager may create projects and assign tasks
An HR manager may manage employees, attendance, and leave
An employee may view assigned tasks and personal attendance
A content manager may create and schedule blog posts
Follow the principle of least privilege.
Give every user only the access required to complete their work.
Step 8: Add Employee Records
Users and employees may be related, but they serve different purposes.
A user account provides login access.
An employee record stores employment-related information.
You may add details such as:
Employee name
Department
Designation
Manager
Employment status
Joining date
Contact information
User account connection
Connect an employee with an existing user account when the employee needs access to the platform.
This allows the employee to use authorized features while keeping their employment information structured.
Step 9: Create Departments and Designations
If your business has several types of employees, organize them into departments and designations.
Example departments include:
Administration
Human Resources
Development
Sales
Marketing
Customer Support
Example designations include:
Manager
Developer
Designer
Sales Executive
HR Officer
Support Agent
This organization helps with employee management, permissions, reporting, and manager assignment.
A very small business may begin with only one or two departments.
Step 10: Create Your First Project
Projects help organize work that has a defined goal or outcome.
Create a project and provide information such as:
Project title
Description
Status
Priority
Start date
Due date
Assigned team members
Use a real project that your business is currently working on.
This gives your team a practical reason to begin using the platform immediately.
Examples include:
Website redesign
Mobile application development
Marketing campaign
Employee onboarding
Product launch
Internal process improvement
Step 11: Add and Assign Tasks
Break the project into smaller tasks.
A task may include:
Title
Instructions
Assignee
Status
Priority
Due date
Estimated hours
Related files
Each task should clearly explain:
What needs to be completed
Who is responsible
When it is due
How completion will be measured
Avoid creating tasks with unclear titles such as “Fix issue” without providing useful context.
Step 12: Use Project Statuses
Statuses help everyone understand how work is progressing.
Your project or task workflow may use statuses such as:
To do
In progress
Under review
Completed
Blocked
Keep your workflow simple at the beginning.
Too many statuses make project management harder rather than easier.
Ask team members to update tasks regularly so dashboards and reports remain accurate.
Step 13: Start Recording Timesheets
Timesheets help businesses understand how working time is spent.
Employees may record:
Project
Task
Work date
Hours
Work description
Timesheets are useful for:
Service companies
Agencies
Remote teams
Client billing
Project estimates
Employee workload reviews
Encourage employees to record their time daily instead of trying to remember everything at the end of the week.
Step 14: Configure Attendance
If your business uses attendance management, review its rules before asking employees to begin.
Decide:
When employees should punch in
When they should punch out
How breaks are handled
What happens when attendance is missed
Who can correct records
Which time zone applies
Employees may use their panel to record attendance, while managers and HR users review the records from the Tenant Panel.
Make sure your attendance process follows applicable employment policies and local requirements.
Step 15: Set Up Leave Management
A structured leave workflow reduces confusion.
Employees may submit requests that include:
Leave type
Start date
End date
Reason
Supporting document
Managers can then approve or reject the request.
Before using the system, define:
Leave types
Approval responsibilities
Available balances
Company holidays
Required notice
This makes leave requests easier to manage and report.
Step 16: Upload Important Files
Use the workspace file features to organize business documents.
You may upload:
Project files
Employee documents
Company policies
Reports
Product images
Blog attachments
Internal resources
Store each file with the correct record whenever possible.
For example:
Attach project files to the project
Attach employee documents to the employee
Attach product images to the product
Attach downloadable resources to the blog
Avoid uploading unnecessary duplicate files because they consume storage.
Step 17: Add Your First Product
If your company sells products, create a product listing.
Add information such as:
Product name
Description
Price
Category
Images
Stock or availability
Status
Review the listing carefully before publishing it.
Use clear images and accurate descriptions.
The Starter plan currently allows a limited number of products and categories, making it useful for testing a small catalog before upgrading.
Step 18: Explore the Marketplace
Published products may appear in the public TenantSaaS marketplace, depending on the current product workflow and approval rules.
The marketplace allows companies to present their products without building a completely separate store from the beginning.
Use it to understand:
How product pages appear
How customers discover listings
How orders are connected to tenants
Which information improves the listing
Begin with one well-prepared product instead of many incomplete products.
Step 19: Publish Your First Blog
TenantSaaS also allows authorized companies to publish blog content.
Your first blog could be:
A company introduction
A product announcement
An educational guide
A tutorial
An industry insight
A customer story
Add:
Clear title
Helpful excerpt
Well-structured content
Professional featured image
Attachments where useful
You may save the article as a draft, publish it immediately, or schedule it for later.
Public content may be reviewed by TenantSaaS administrators to protect platform quality.
Step 20: Configure Notifications
Notifications help users remain informed about important activities.
Depending on the available settings, notifications may be delivered through:
In-app messages
Email
SMS
Common events may include:
Team invitation
Project creation
Task assignment
Task update
Leave request
Blog moderation
Product order
Subscription change
Review templates and recipients before enabling a large number of messages.
Too many unnecessary notifications can cause users to ignore important ones.
Step 21: Review Analytics
After adding some business activity, return to the dashboard and reports.
You may begin seeing information about:
Project progress
Task completion
Attendance
Timesheets
Team activity
Products
Storage
Subscription usage
Analytics becomes more valuable when users update records consistently.
Incomplete data produces incomplete reports.
Step 22: Try the AI Assistant
TenantSaaS includes AI-assisted features designed to help users work more efficiently. The public platform description highlights AI chat, content creation, blog generation, project insights, and team productivity analysis as supported or planned workspace capabilities.
Depending on what is enabled for your account, you may ask the AI assistant to:
Summarize projects
Find overdue tasks
Prepare content
Explain analytics
Draft announcements
Locate records
Review recent activity
Always review generated information before using it for important decisions or public content.
The AI assistant must follow the same roles, permissions, and tenant boundaries as the rest of the platform.
A Simple First-Week Setup Plan
You do not need to complete everything on the first day.
Day 1: Create the workspace
Register your account
Verify your email
Create your company
Complete basic settings
Day 2: Add your team
Invite essential users
Assign roles
Review permissions
Day 3: Organize employees
Create departments
Create designations
Add employee records
Link employee accounts
Day 4: Add work
Create one project
Add tasks
Assign team members
Set deadlines
Day 5: Configure operations
Review attendance
Set leave rules
Configure notifications
Upload important files
Day 6: Explore growth tools
Add a product
Review the marketplace
Create a draft blog
Day 7: Review the system
Check dashboards
Review reports
Test the AI assistant
Ask your team for feedback
This gradual approach makes the platform easier to understand.
What to Avoid During Setup
Do Not Give Everyone Administrator Access
Use roles and permissions properly.
Do Not Create Too Many Test Records
Create realistic information that helps you evaluate actual workflows.
Do Not Ignore Company Settings
Time zone and notification settings affect several modules.
Do Not Upload Unnecessary Files
The free plan has limited storage.
Do Not Enable Every Notification
Start with important alerts and expand carefully.
Do Not Create Complex Workflows Immediately
Begin with simple statuses and approval rules.
Do Not Publish Unfinished Products or Blogs
Review all public content before publishing.
When Should You Upgrade?
The free Starter plan is designed to help you explore TenantSaaS and manage smaller workflows.
You may consider upgrading when:
You need more than the allowed companies
Your team grows beyond the user limit
You create more projects or tasks
Your product catalog expands
You need more storage
You require advanced reports
You need additional AI functionality
You want custom domains or broader business features
Your business depends on the platform for daily operations
TenantSaaS currently lists Growth and Business plans with higher limits and additional capabilities beyond the Starter plan.
Upgrade because the business needs additional value, not simply because a paid plan exists.
Will You Lose Your Data When Upgrading?
The current Starter plan description states that users can upgrade to paid plans without losing their existing data.
This allows companies to begin with the free plan, test their workflow, and expand later.
Before any subscription change, review:
Current plan
New limits
Billing period
Included features
Payment method
Renewal terms
Keep important business information backed up according to your company’s normal data policy.
Getting Value from the Free Plan
To get the most value from the free plan:
Use real company workflows
Invite a small group of active users
Create meaningful projects
Keep tasks updated
Test attendance and timesheets
Add one strong product
Publish useful content
Review dashboards regularly
Gather employee feedback
Identify which features save the most time
The free plan should help you answer an important question:
Can TenantSaaS make our business easier to organize and manage?
Final Thoughts
Starting with a new business platform does not need to require a large financial commitment.
TenantSaaS allows businesses to begin with a free Starter plan, create company workspaces, invite users, manage projects and tasks, organize employees, add products, publish blogs, and explore business analytics before upgrading.
Begin with one company and one practical workflow.
As your team becomes comfortable, introduce more modules and automation.
The goal is not to configure everything immediately.
The goal is to create a clearer, more organized way to manage your business.
Start Using TenantSaaS for Free
Create your account, set up your first company, invite your team, and begin managing real business activity from one connected workspace.
Start with the free Starter plan and upgrade only when your company needs more resources and advanced capabilities.